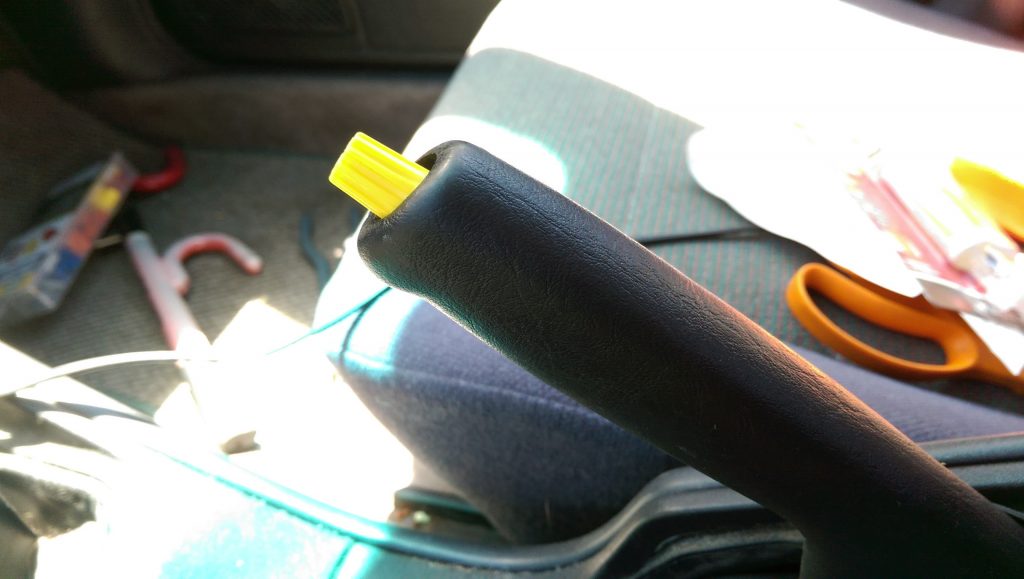
As I was heading out on an errand yesterday, my 1996 Subaru Outback’s handbrake button broke apart. Part of the button I lost — and the remainder didn’t have enough threading to put back on. That button is not a thing once can buy on the internet anywhere, so I fixed it by gluing in new threading.
If you only have five minutes, as a temporary hack you can use an electrical thumbscrew[1].
Parts and tools list:
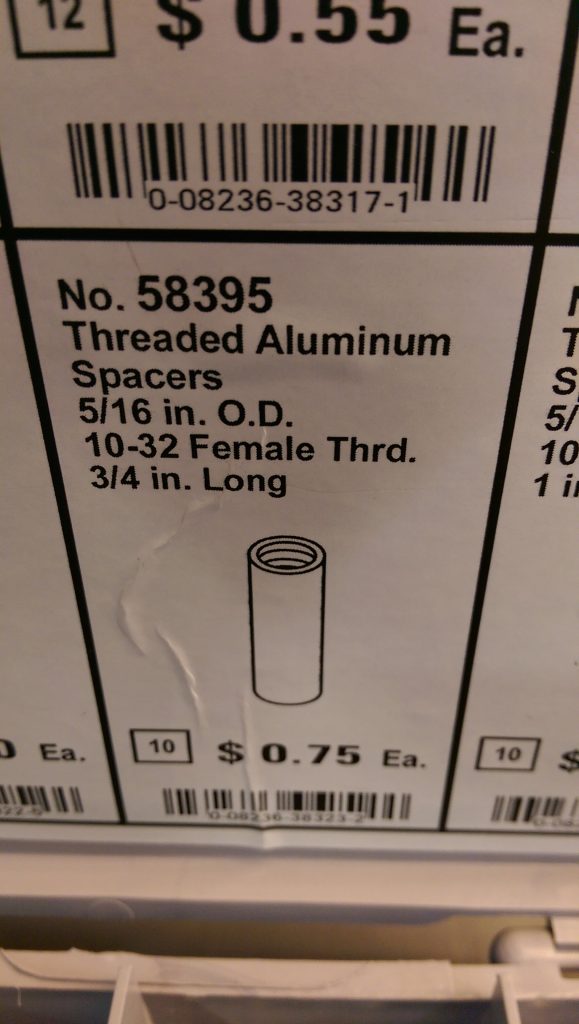
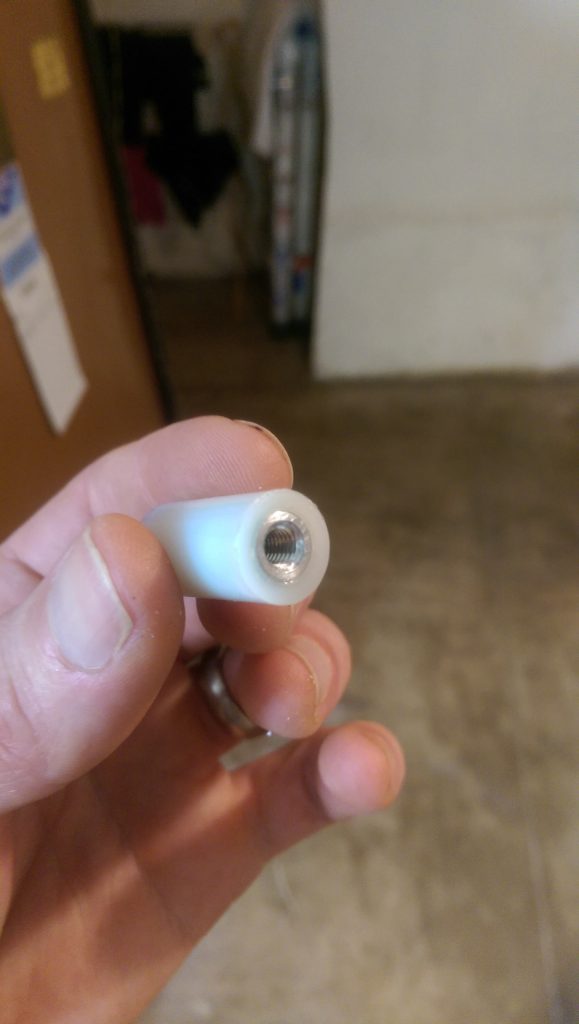
- Ace part #58395 threaded aluminum spacer. $0.75
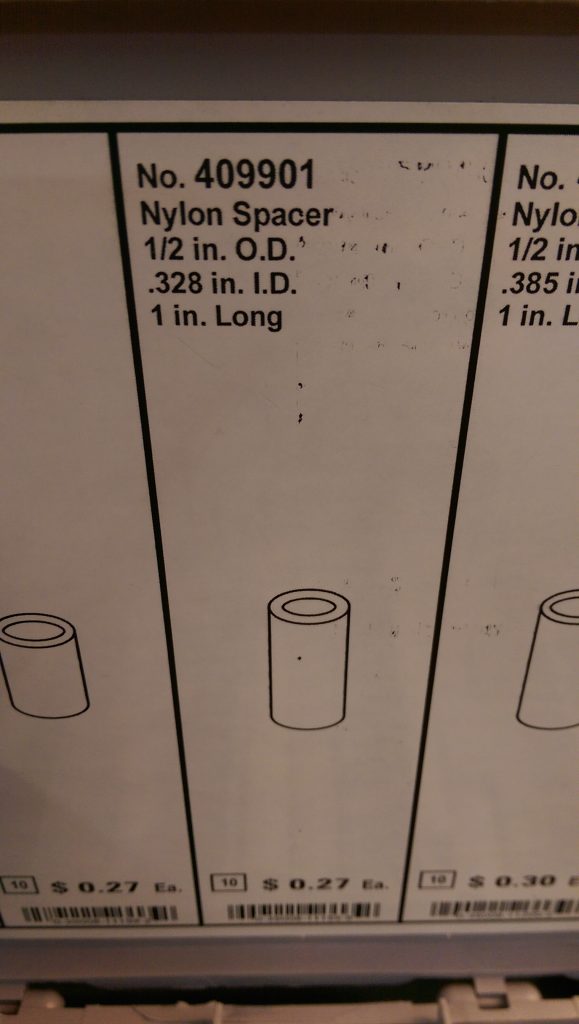
- Ace part #409901 nylon spacer $0.27
- Two-part epoxy $5
- A washer of the approximate size of the bottom of the spring
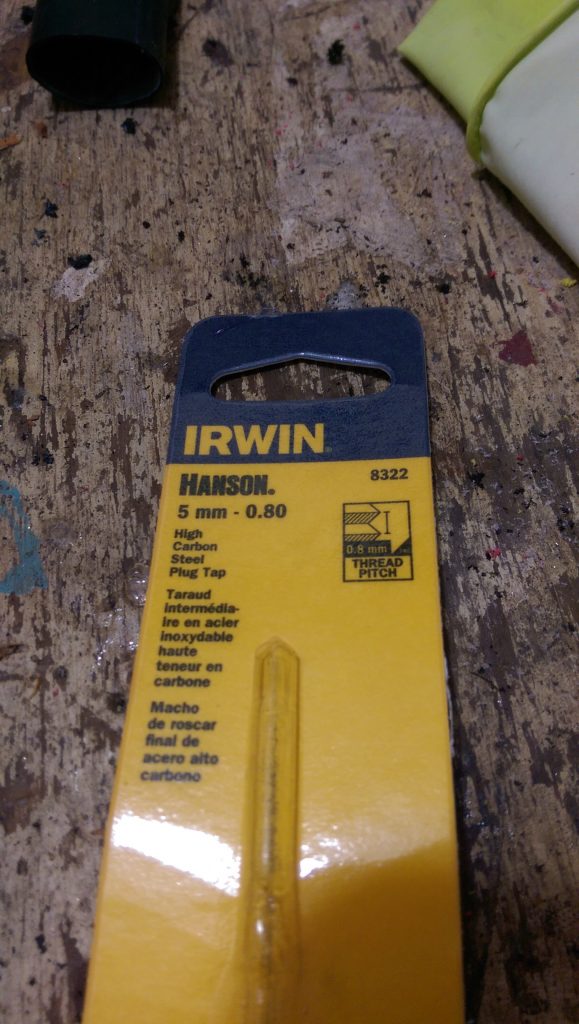
- An Irwin m5x0.8 tap $5, also was at Ace
- Velcro cable tie (optional)
- A vice
- A Dremel with router bit
- A pair of pliers
Steps:
- Tap out aluminum spacer with tap. A vice and pliers is probably necessary. [2]
- Glue aluminum spacer inside nylon spacer with epoxy, set aside.
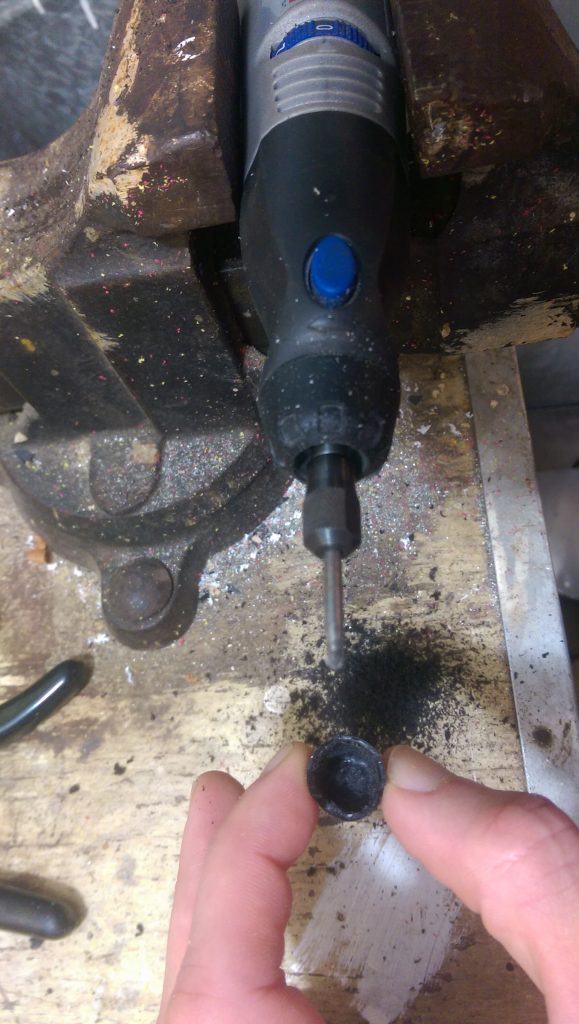
- Remove the inside of the broken button so that it was just a shell. I used a dremel and carbide router bit.
- After the glue from step 1 is solidly dried, trim the nylon to fit into the button shell using a chisel or sharp knife.
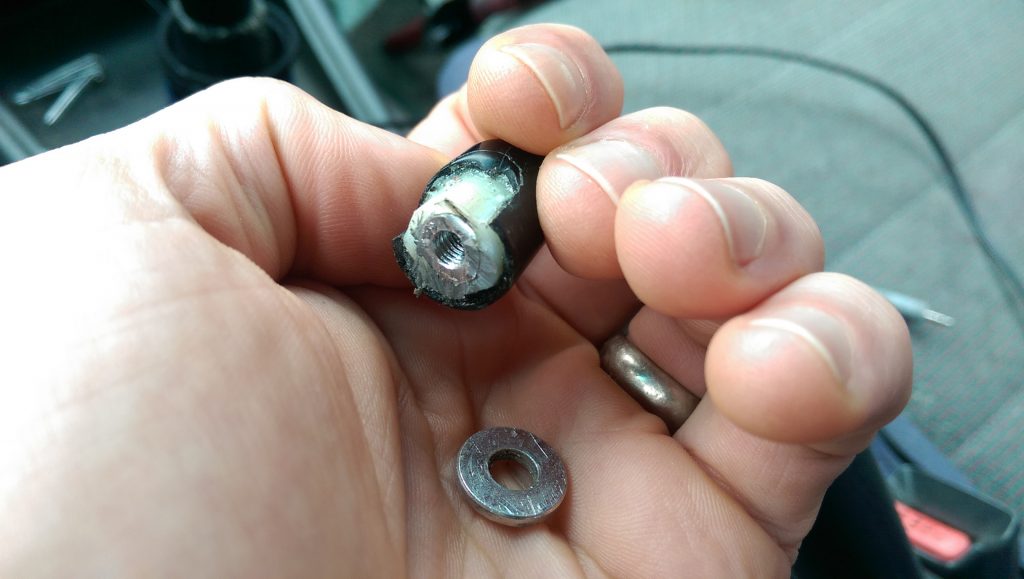
- Glue the spacer assembly into the shell with the epoxy. If necessary put a velcro cable tie wrapped around the outside to keep pressure on it. Don’t put so much epoxy in the bottom that it comes up into the threaded aluminum.
- Since the bottom was now not completely even, it caught on the spring on the threaded rod, so put a washer on the threaded rod first before threading on button.
Gallery shows parts and some of the steps:

[1] See this Google groups post.
[2] I actually did this as a final step, screwing the assembled/repaired part on to the tap while holding it in a rubber glove. But doing it first is probably best to avoid damaging the plastic button. You may also want to verify after tapping out that it actually threads on to the rod in the handbrake.
Leave a Reply